In my last article about growing bhut jolokia peppers, I briefly described the seeds and my experience eating a pepper flake. Now we get to the good part – planting the seeds!
Starting Indoors
Like a good bulk of the United States, my home state of Missouri has a climate that won’t allow for the outdoor starting of hot pepper plants. The good news is that with the right indoor conditions it’s easy to have your pepper seeds germinate and sprout up into nice little seedlings. What are those conditions, you might ask?
Keep Your Plants Warm
First, make sure you’re able to keep your peppers in a place that is able to get plenty of heat. It can be:
• A window sill that gets a LOT of sunlight (but make sure that the window itself is not cold as it will transfer a lot of that low temperature to your plant containers)
• A location near a heating vent
• A high shelf in a warm room
• Atop a clothes dryer (if your dryer is in a basement that usually gets chilly in the spring, you may want to find another area)
• Under regular lamps, grow lights, and heat lamps
• A location where you can lay a long, flat heating pad underneath your containers
The soil temperature in which your plant your seeds should be kept around 80 – 85°F in the daytime and room temperature at night. If you find the nighttime room temperature dipping below 60°F, it’s best to find a more suitable location. Seeds thrive and germinate quicker when they’re nice and toasty warm.
Have Adequate Lighting
Second, chile peppers plants need light in order to grow tall and strong. 14 to 16 hours a day in direct light is best. The lighting source can be natural sunlight from outside, but chances are you’ll need to compliment that with some artificial lighting. Metal halide or HID (High-Intensity Discharge) grow lights work best, but unless you’re willing to fork over a lot of cash for the lights and fixtures and want ridiculous electric bills, you should settle for something far cheaper. Fluorescent fixtures and bulbs are good and cheap, and while they give off little heat, they won’t make your electric bill sky-high, either.
If you go the fluorescent route and have room for two bulbs in your fixture, get one cool-white and one warm-white bulb. The combination of the two will cover a lot of the visible electromagnetic spectrum and simulate sunlight better.
Good Soil
If you do a search on the internet for the proper soil in which to plant peppers, and you’ll find 20 “magic” combinations of different ingredients. In truth, most potting soils should be fine enough for growing hot peppers. If you’re not using pre-packaged or pre-bagged potting soil, make sure that you use a good mix of loose dirt and sand that drains well. Avoid thick, compact dirts and clay.
Never, EVER use all pellets, peat pots, or even potting soil that is mostly peat. A lot of gardeners agree that peat inhibits chile pepper plant growth. A minimal amount of peat is fine if it’s mixed well with soil or compost; but chances are the more peat you use, the less success you’ll have in initial germination and growing bhut jolokia peppers.
Personally, I’ve started my seeds with Miracle-Gro® Potting Mix.
What Containers to Plant Your Seeds In
There are a plethora of choices when it comes to seed-starting containers, and it’s almost impossible to make a bad one. You can use professional seed-starting trays (with and without segmented cells), planter boxes, small plastic and clay pots, and plastic cups. I’ve even heard of people using hollow egg shells placed inside of an egg carton to start the seeds. Having drainage holes in the bottom of your containers is advisable.
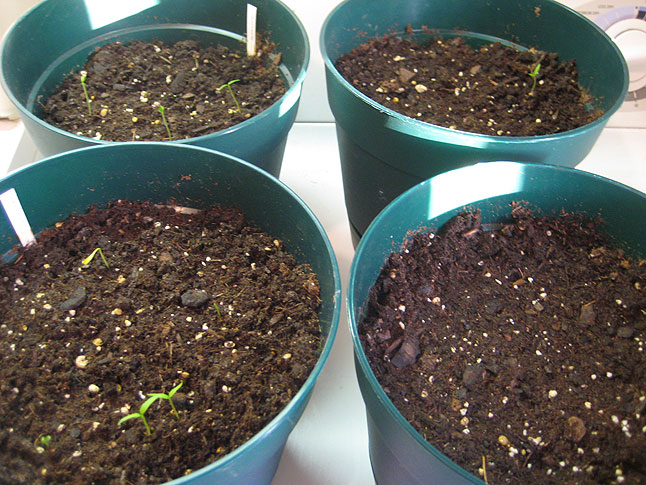
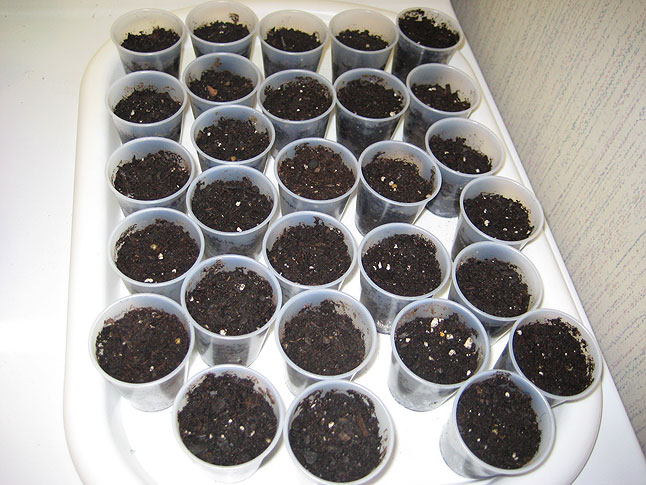
This year I’ve tried two methods – planting my peppers seeds in large plastic flower pots and in small, disposable cups.
Planting the Seeds
Fill your containers with your soil nearly all the way to the top. Plant two or three seeds in each container; there’s always a “dud” seed that won’t germinate, or a seedling that will whither away and die shortly after sprouting through the soil. Cover the sown seeds with no more than 1/8 to 1/4 inch of dirt. Lightly water the soil, and then you’re done!
If you’re growing many varieties of hot peppers, you’ll need to label your containers. If you have individual cups or pots, writing on masking tape applied on the sides will work fine. If you have a multi-cell tray, you can take any thin piece of plastic (such as an empty gallon milk carton) that you can cut into strips with a blade and label with permanent marker. Just stick the plastic strips into each compartment of soil.
Maintenance and Germination
Seeds needs plenty of water to grow, but be weary of over-watering. Depending on the temperature and humidity, you may have to re-water your planted seeds every 2-3 days, or whenever the top of the soil starts to dry out.
Germination times are all over the map with hot peppers in general. They can take 14 days for habaneros, and all the way up to a month for others. Bhut jolokias, from what I’ve heard, will be at the higher end of that scale. So plenty of warmth, water, and patience are needed to grow bhut jolokias.
Results Already!
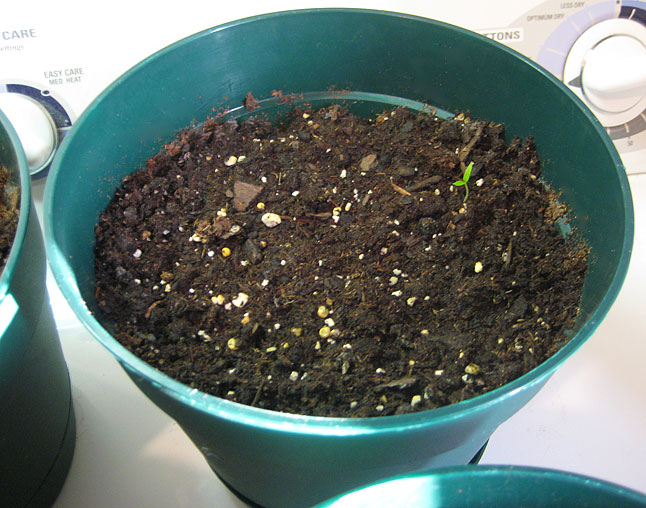
I planted bhut jolokias, jalapenos, and habaneros 11 days ago into the large pots I mentioned earlier, and I’m seeing seedlings!

A lone seedling of a bhut jolokia plant:

Here are my other containers, which contain seeds of five different varieties that I had planted five days ago:

I’ll write more in the near future showing you the progress of my pepper plants.
Read the previous installment: Growing Bhut Jolokias – Step One – The Seeds
